
To add a report tile to a custom dashboard:
-
(Optional) If your custom dashboard is not open yet, go to and click on your dashboard’s name.
-
If you want to add a new tile to your dashboard, go to the hamburger menu at the top right of the dashboard and select .
-
If your dashboard has empty tiles (placeholders) that you want to configure, click on any given tile marked Click to display data here.

-
A prompt will appear, offering a variety of dashboard tile reports to choose from. Select the tile type you want to add and click .
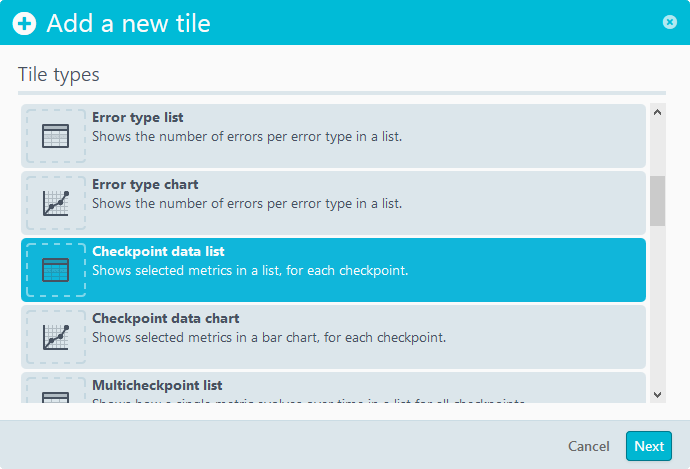 If you need help choosing the tile type, we recommend reading the knowledge base article Custom report tiles.
 -
Select the monitor(s) or monitor group(s) that you wish to view data for within the tile. You can always change this later. When you have selected the appropriate monitor(s), click .
The tile content is now displayed. You may continue to fill out the rest of your dashboard tiles or add new ones by repeating the steps above.