
You might want to create a new (custom) dashboard completely from scratch or you have found a predefined dashboard that is mostly what you are looking for and just needs some tweaking.
For a new custom dashboard you create a dashboard that is pretty much empty except for four empty tiles. You have to configure everything yourself, including the data you want to show and in which way to show it.
If you want to have a dashboard similar to an existing one you can create a new one by using an existing one as a template and duplicating it.
Both options are explained in this article.
Creating a new dashboard from scratch
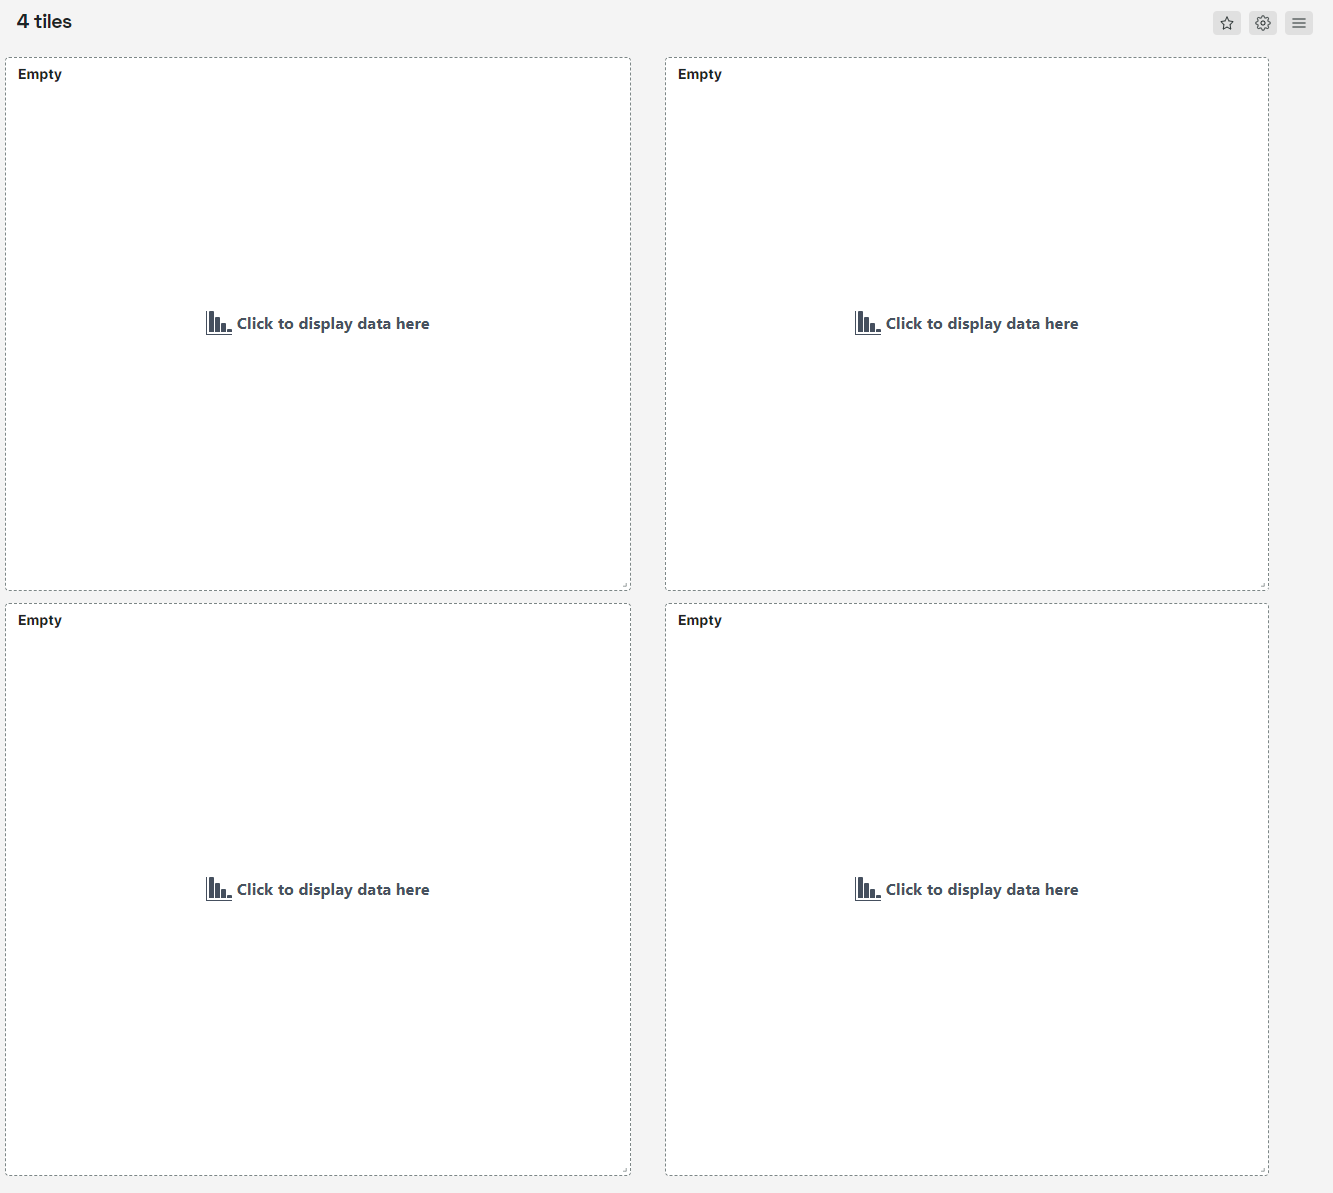
To create your new dashboard with four empty tiles:
- Go to the menu .
- Click the Add new dashboard button.
A new dashboard with 4 tiles is created for you.
- You can now configure the tiles or add new ones as explained in Adding a custom dashboard tile.
- Click the button to save all your work.
You will be prompted to enter a name for the dashboard. If you want to change the name later on, you can acces it by clicking the settings button at the top of the dashboard. - Enter the dashboard name and click the button.
Creating a new dashboard by duplication
To create a new dashboard that is very similar to an existing dashboard:
- Go to the dashboard that you want to use as a template.
- Click the hamburger menu at the top right of the dashboard.
- Select .
- Enter a new unique name for your dashboard.
- Click the button.
A duplicate of the existing dashboard, but with the new name is created. - Customize the dashboard by
- changing dashboard or tile filters
- changing or adding tiles
- changing dashboard settings (to access click the button at the top of the dashboard)
- changing tile settings (to access click the settings button)
- When you are done with all changes, click the button.
Deleting a dashboard
If a dashboard is not required anymore and you want to delete it:
- Go to the dashboard.
- Click the hamburger menu at the top right of the dashboard.
- Select .
- Click the button.