
Overview
By default, Uptrends monitors your websites, applications, and APIs using its global network of public checkpoint locations. These checkpoints are distributed worldwide and are designed to test only publicly accessible pages and services. This provides insight into how your systems perform from different regions.
With private locations, you can extend monitoring capabilities inside your own network. This allows you to run checks within your servers and firewall, maintaining full control over internal systems that public checkpoints cannot reach. Private locations support all monitor types except Postman monitors.
Private locations
A private location is a logical container used to monitor internal websites or web services. It contains checkpoints that perform monitoring, similar to global public checkpoints. Uptrends uses a Docker container to run a checkpoint behind your firewall. For more information, see How Private locations work.
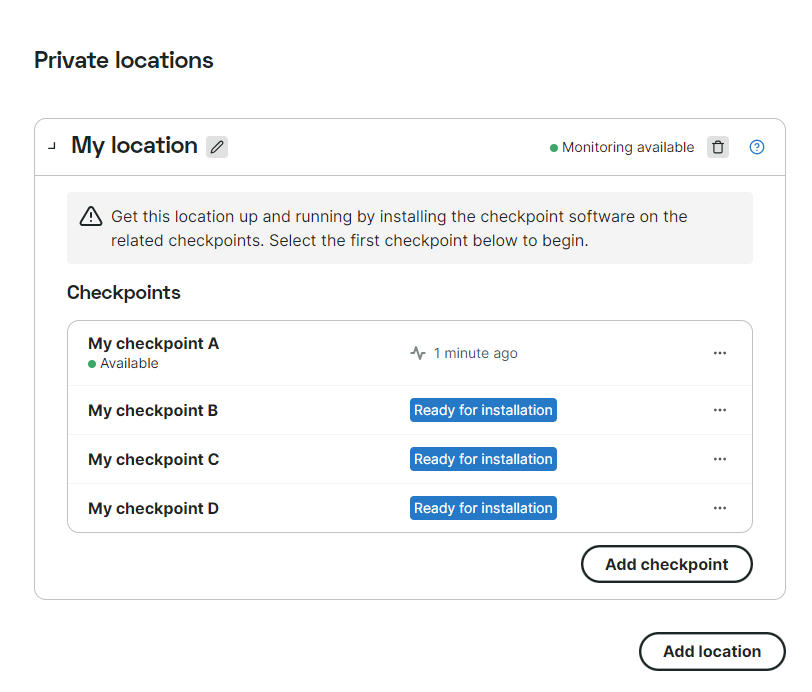
Private checkpoints
After creating a private location, two checkpoints are automatically added. You can install and host these checkpoints on your Windows or Linux servers to monitor your internal network. This ensures secure testing of your internal systems.
Prerequisites
To get started with private locations, ensure that you:
- Met all the hardware and network requirements before installing private locations.
- Have appropriate private location permissions.
Getting started
After confirming all prerequisites are met, complete these tasks:
- Add a private location. Two unconfigured checkpoints are added by default.
- Install a private checkpoint. To add additional checkpoints, see Manage private checkpoints.
- (Optional) Install certificates in private locations.
Private locations trial
All users can access the Uptrends Private locations trial. This trial allows you to create, set up, and test private locations using your existing monitors.
The trial remains open-ended until you complete the installation of your first private location on the Uptrends platform. By that time, you should have completed all necessary requirements and installed a containerized Docker private checkpoint.
After your first private location is running, your 30-day free trial begins. The trial end date is set at this point, regardless of whether private locations are selected in any monitor checkpoint.
To extend the trial or convert to a paid subscription, contact your Account Manager or the Support team.