
Monitors are the core of your Uptrends setup. Each monitor represents a URL, server, or web service that Uptrends checks for uptime and performance.
Create a monitor
The steps to create a monitor depend on the menu available in your interface. Select the option that matches your view:
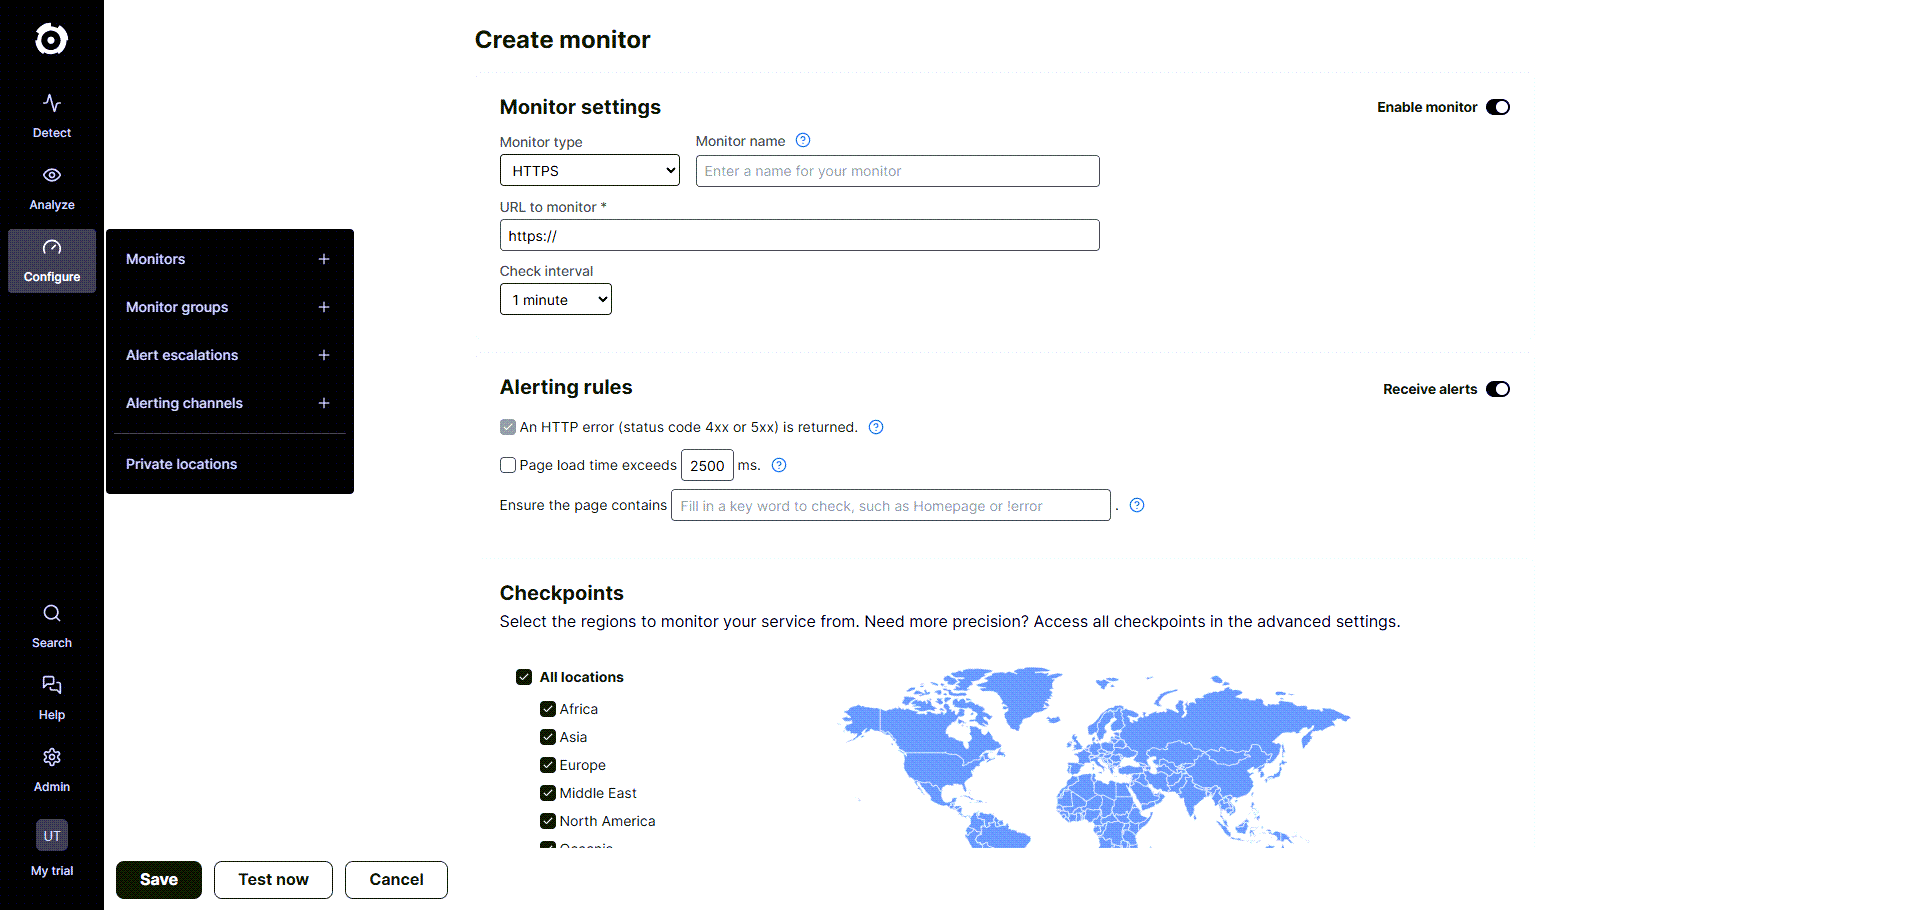
From the Configure menu
- Go to Configure > Monitors +.
- Configure monitor settings based on your requirements.
- Click Save to confirm your monitor settings.
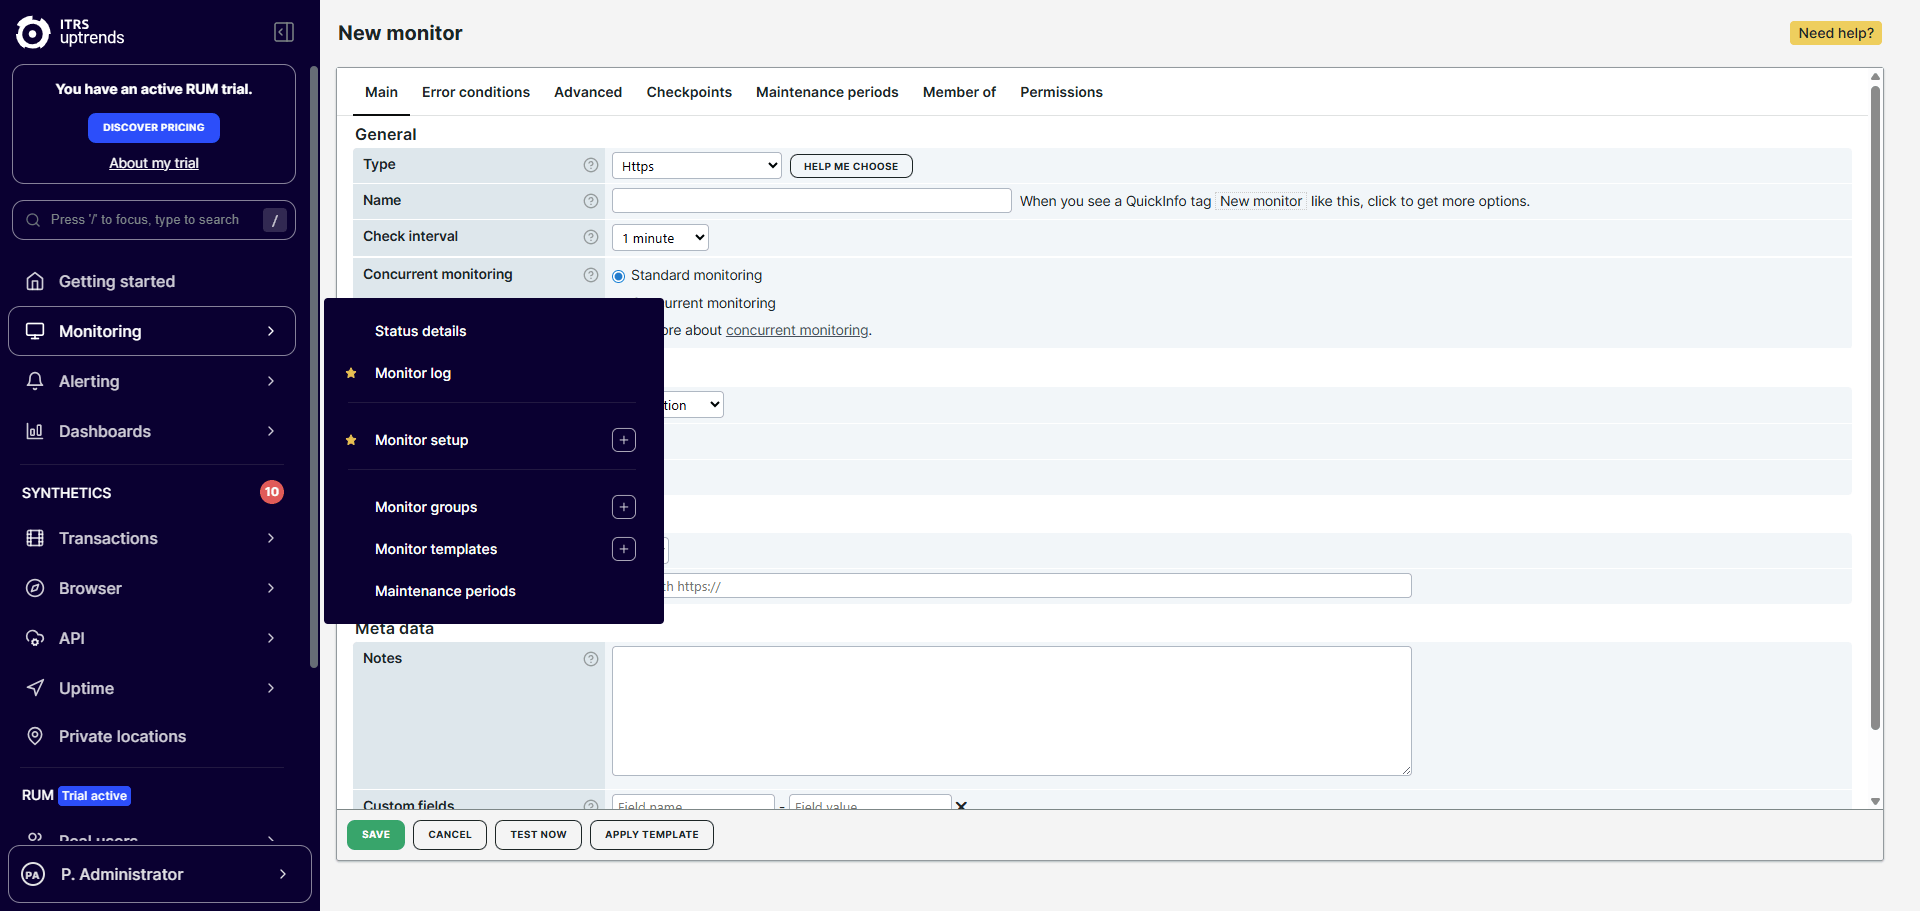
From the Monitoring menu
- Go to Monitoring > Monitor setup +.
- Select a monitor type and click Choose.
- Configure monitor settings based on your requirements.
- Click Save to confirm your monitor settings.
From the Synthetics section
- Go to the monitor-specific menu (Transactions, Browser, API, and Uptime) and click the monitor setup + option.
- Configure monitor settings based on your requirements.
- Click Save to confirm your monitor settings.
Additional setup options
If you are creating a transaction or API monitor, review the following setup options before configuring your monitor:
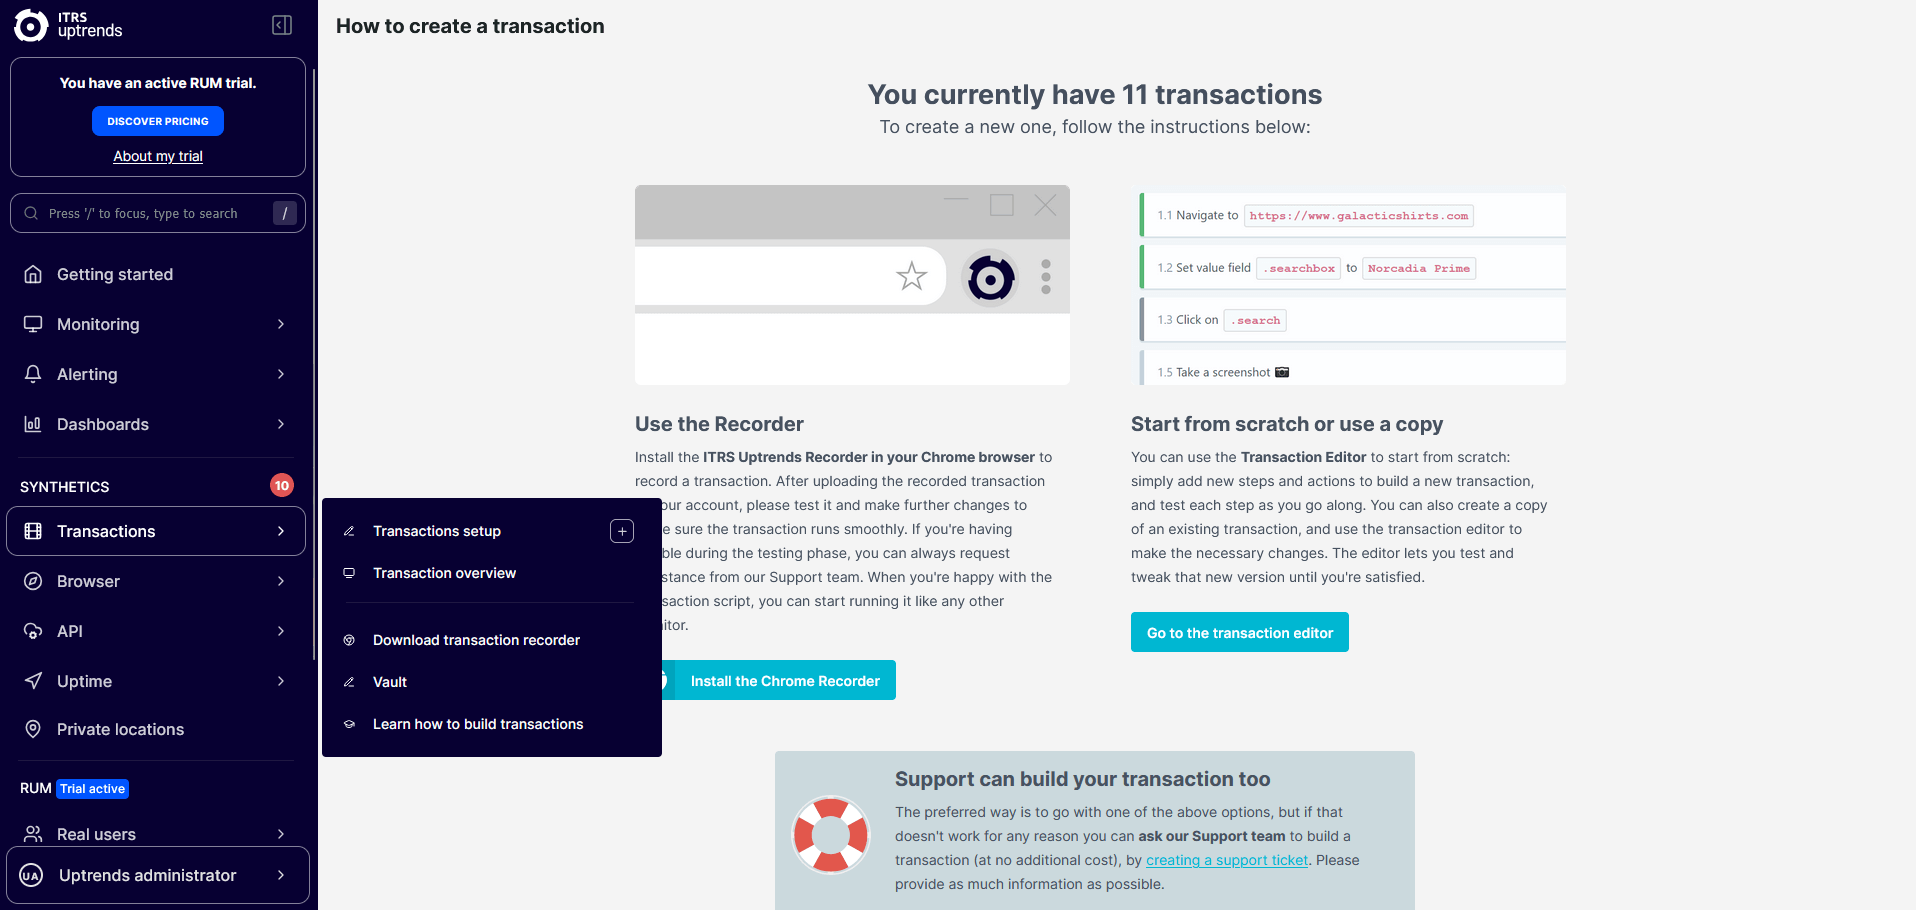
Transaction monitors
When creating a transaction monitor, choose a setup option that fits your needs:
-
Install the ITRS Uptrends Transaction Recorder — a browser extension that automatically records user journeys and creates a ready-to-use transaction monitor.
-
Use the transaction step editor — start with the default configuration.
-
Try a ready-made example (if available) — start with a fully functional example that you can modify and test.
API monitors
When creating an API monitor, choose a setup option that fits your needs:
-
Build from scratch — start with the default configuration.
-
Try a ready-made example (if available) — start with a fully functional example that you can modify and test.
Credits and pricing
Uptrends uses credits to calculate pricing for monitoring services. For more details, see Credits.